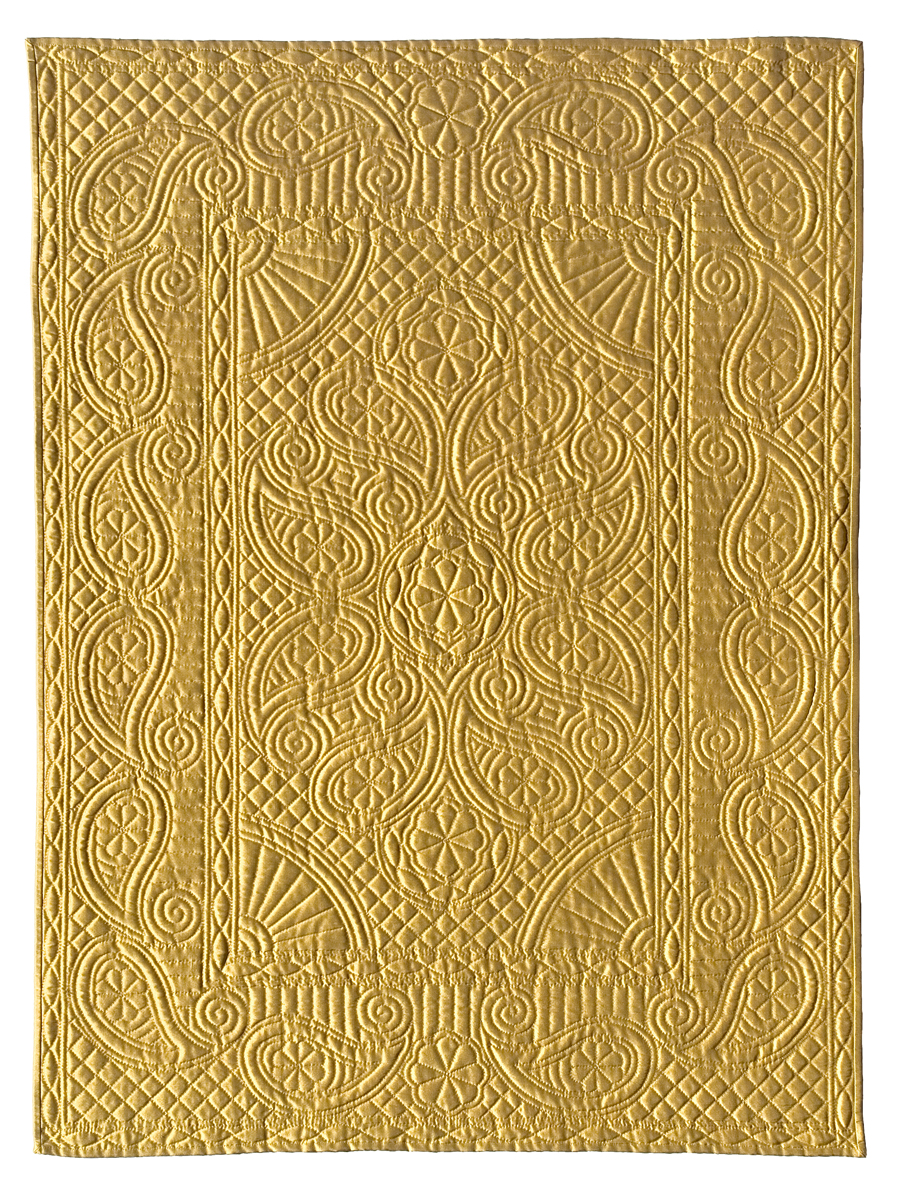
Making Rhuthr Aur (Gold Rush)
These videos were on show at Sandie's Paisley Pageant exhibition at the Welsh Quilt Centre, Lampeter, South Wales, and can now be seen here as the exhibition has closed.
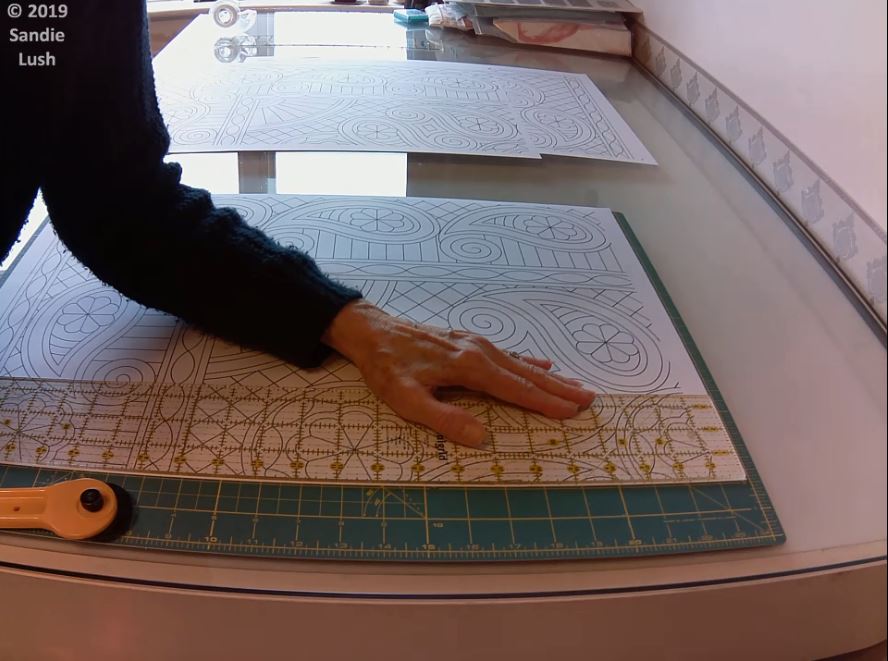
Assembling the pattern and marking the quilt top
This time-lapse video shows the trimming and taping together of the printed quilt pattern. The ironed quilt top fabric is then pinned to it and the pattern marked onto the fabric using a watercolour pencil (in this case, brown - to match the gold of the fabric). The illumination underneath the quilt is not strictly necessary - it just helps show the pattern for the camera.
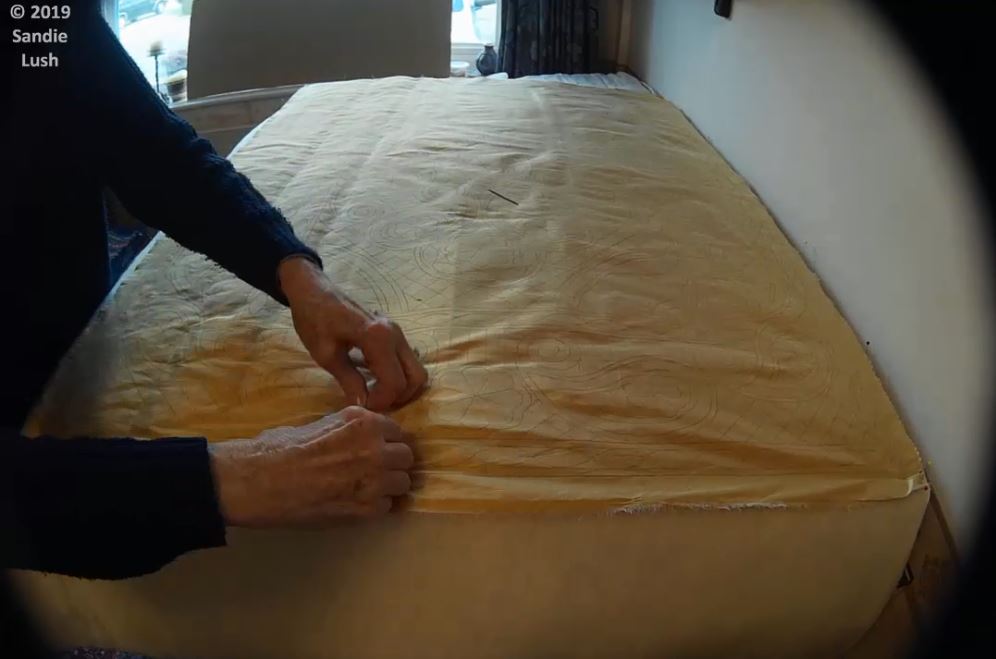
Assembling, tacking and trimming the layers
This time-lapse video shows the quilting sandwich (marked top fabric, wool wadding and backing fabric) being put together, tacked and trimmed to size.
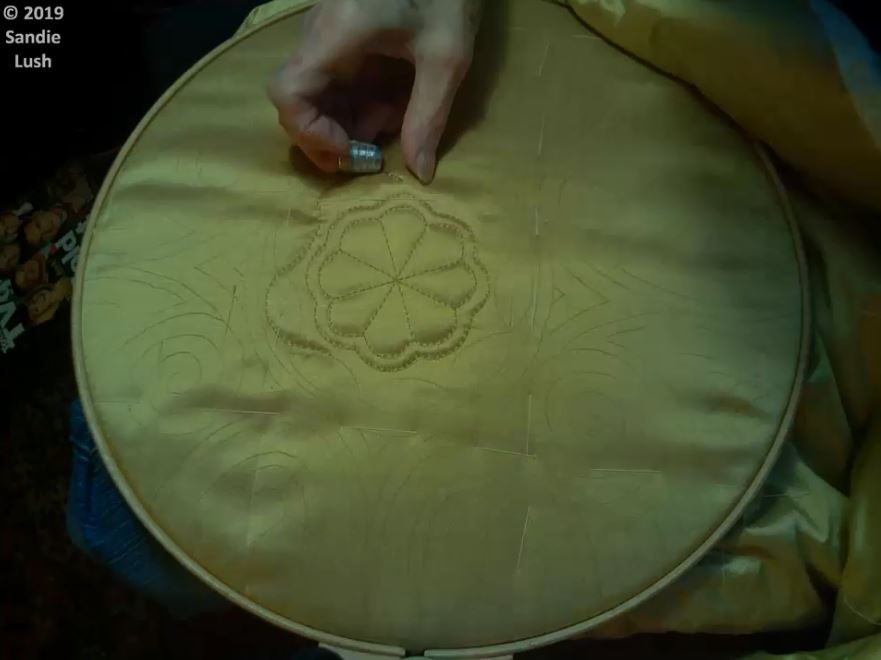
The first hoop of quilting
This time-lapse video shows the very first part of the design (the centre) to be hand quilted; the 'rocking' technique (with an under-thimble) was used throughout.
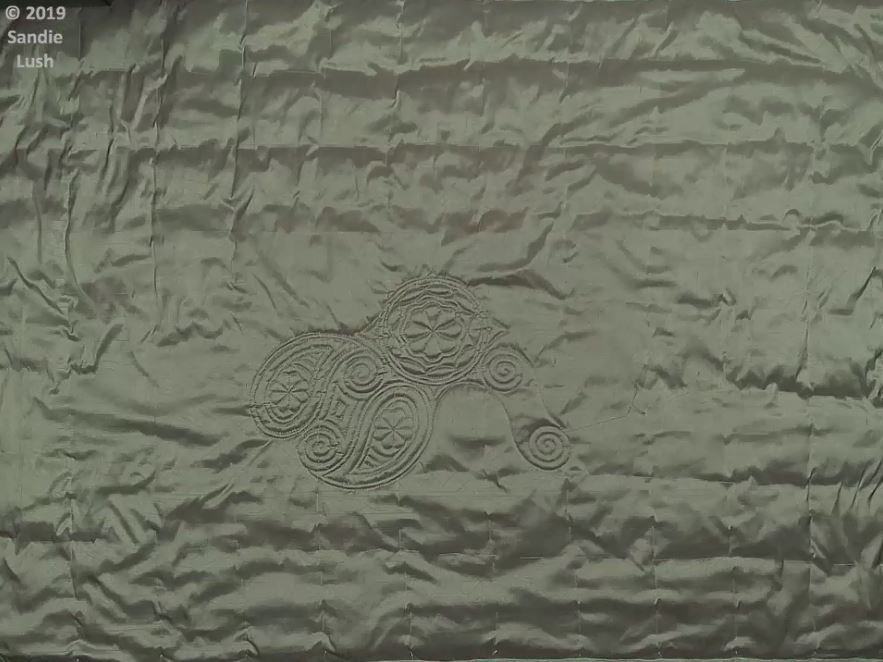
Quilting progress
About 12-18" of thread was hand quilted at a time. After each thread was used up, the quilt was taken out of the hoop, laid flat, and a photo taken of the progress - before starting the whole cycle again with a new piece of thread. The resultant 200-plus pictures were then 'stitched' together to form this video.
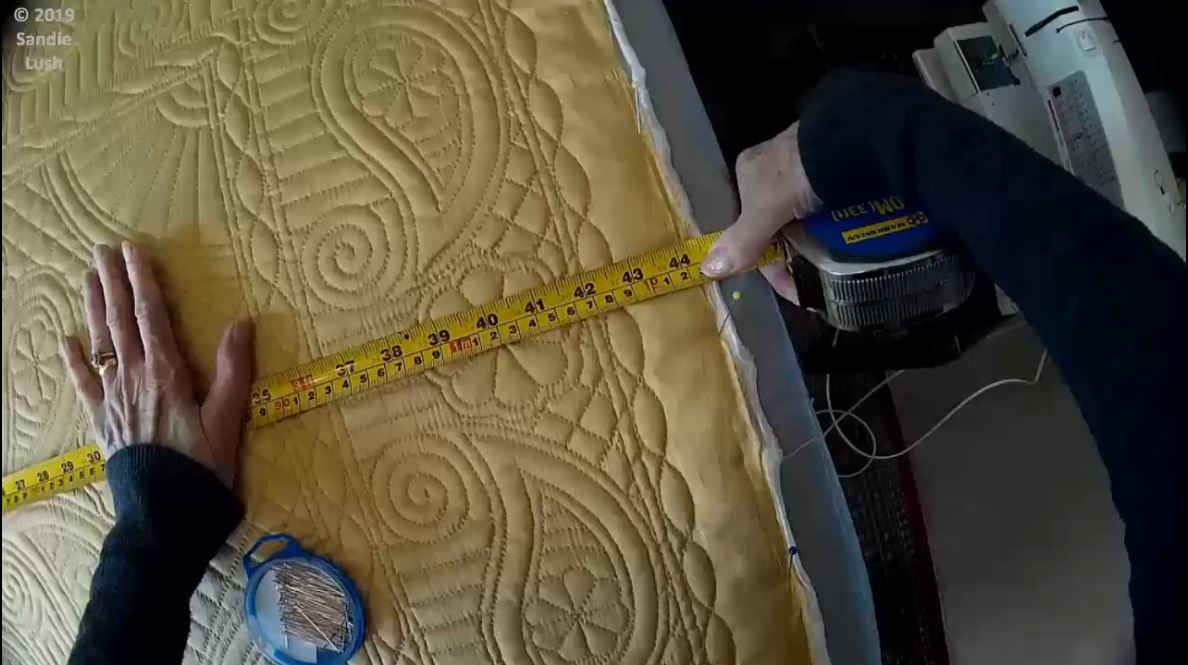
Putting on the binding
This time-lapse video shows the binding being cut out and ironed, then pinned to the edges of the quilt, then machine-stitched to the quilt. The mitred corners are then formed and stitched (only one is shown). Finally, the fabric is trimmed in preparation to hand-stitch the edges.
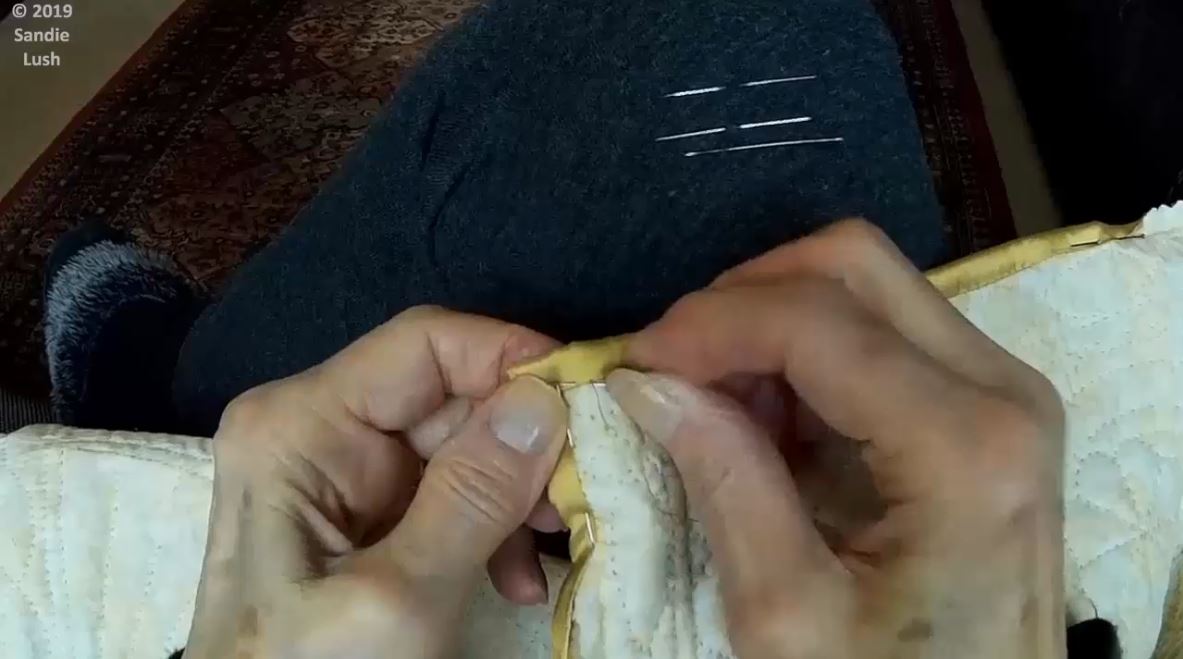
Sewing the edges
This time-lapse video shows Sandie hand-sewing down some of the edging, including turning a corner.
The Finished Quilt
